Showing posts with label Crafts. Show all posts

Sunday, February 07, 2016

The Kuripot Crafter Strikes Again: Glitter Sneakers

Hello! Hello! Hello! Aba, may free time ako. Anong himala?! Magugunaw na yata ang mundo. Hahahaha! At dahil dyan, crafting time. :) Off-topic na medyo related (ano daw?): My most viewed posts are the DIY Hermes Twilly and the home-made gourmet tuyo...such disparate things, no? But one thing is clear, there are so many DIY-ers out there.

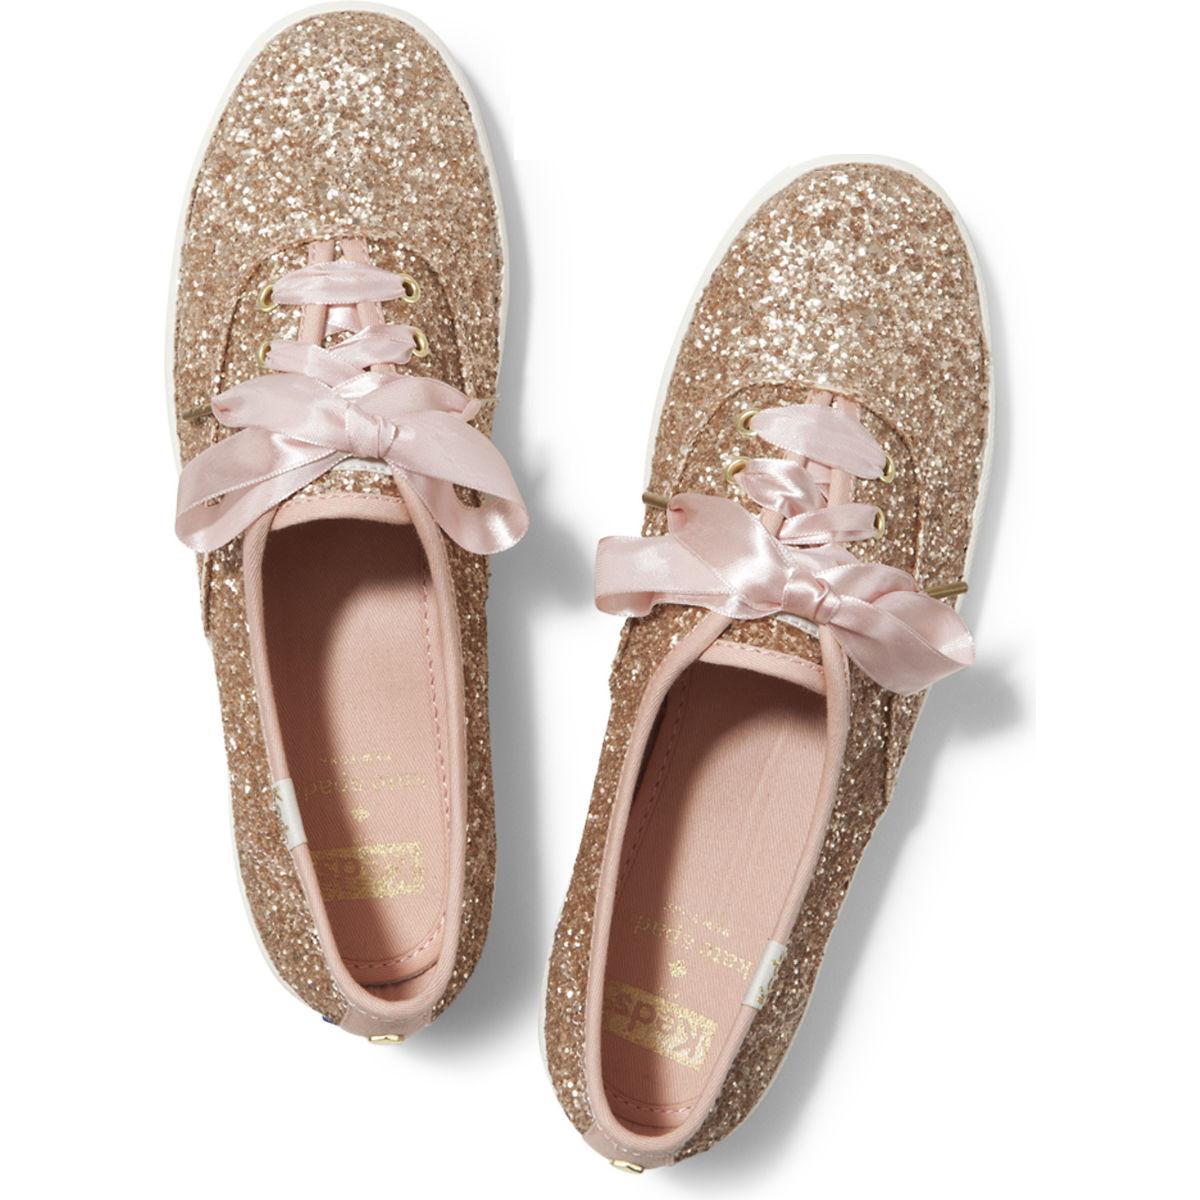
I saw this pair of Keds x Kate Spade rose gold glitter sneakers in Glorietta when we were in Manila 2 weeks ago. So cute diba?  Pero mahalia. Well, not really, but I rarely wear sneakers to justify the cost.


When we came back here in Dumags, my favorite grocery was having a sneaker sale and I got pair of mangy-looking Atmosphere sneakers for 200 pesos. No wonder they were on sale. Hahahahaha. Actually, the shoes are okay, but the fabric's color has lightened already. It's not going to be a problem though, as I'm going to cover it in glitter. Another thing, I didn't try on the shoes before I bought them, as they came in my size, but when I got home, I discovered that they are way too big for me. Buti na lang kasya kay Sharkteeth, whose feet are two sizes bigger than mine!!!

I cleaned everything with isopropyl alcohol and I removed the insole. I wrapped the rubber parts with washi tape. Wala kasi akong masking tape. I also covered the eyelets with glue, so I can easily remove any glitter that might get stuck on it.


I mixed the glitter with fabric paint in a bowl. I used a small bottle of Leeho glitter and Leeho fabric glue/paint. I couldn't find a bottle of rose gold so I settled on this shade of metallic pink. The mixture was enough to coat the shoes twice, plus some more. If you have Mod Podge, you can use it instead of fabric glue.


Then I painted the fabric with the mixture. You can opt not to paint the edges. I did because lilac is much too light compared with the metallic pink. After drying the first layer, I again painted another layer.


 After drying, I painted the entire glitter-covered surface with crafting glue. Again, if you have Mod Podge, you can use it instead of crafting glue. I left it to dry overnight.


The shoes were completely dry this  morning. I brushed off loose glitters then sprayed the shoes with sealant for good measure. I left the shoes to dry for about an hour, then removed the glitters stuck on the eyelets with a nipper. I bought a pair of metallic silver shoestrings to make the shoes even more glittery, 'cause "They are too glittery," says Sharkteeth never.


 Et voila!

I added a heart stud on each side.


I am thoroughly happy with the result, and even if the shoes didn't turn out to be mine, crafting them made me so happy! And of course, Bebe Ghel is so happy as well with her new shoes.


Materials needed:
1. a pair of canvas shoes
2. masking tape
3. small bottle of glitter
4. small bottle of fabric glue
5. round paint brush
6. crafting glue (Elmer's)
7. sealant

I already have tape, paint brush, crafting glue, and sealant in my craft stash, and my total spending was 275 pesos.


Saturday, November 01, 2014

Halloween 2014


May the Force be with you!

Here's TheHusband's costume for the office Halloween Party. He only wanted to wear the mask and carry the Lightsaber, but you know me and my motto, GO HARD OR GO HOME...so I sewed him a cape, bought a pair of gloves, ruined a jacket to make a top where I attached Darth's circuit board. By the way, the mask has a mechanism that changes the voice to Darth Vader's, and there are buttons on the circuit board for Darth's heavy breathing. Got the mask with the circuit board, as well as the Lightsaber, from an ukay. Winner, ano?! I wanted to buy a pair of boots, but that's when TheHusband put his foot down (hehehe, pun unintended). Sayang daw pera. Oo nga naman.


My not-so-little mummy.


Meanwhile, Sharkteeth's outfit was a total dud. She was supposed to go as a mummy, and I wrapped her in bathroom tissue, but before the party could start, tinanggal na namin ang costume nya. Na-sense ko discomfort nya, pero ayaw nyang magreklamo kasi I told her na huwag syang mag-arte-arte pag suot na nya yung costume. Ayaw na ayaw nya ang "I told you so" [that is, pag siya ang sinasabihan. hehehe]. Tapos pinagtitinginan sya kasi sya lang yung ghoulish ang costume in a sea of Elsas, fairies, and superheroes. Na-self-consious. Saka hindi na raw sya makahinga sa dami ng tissue sa mukha nya. I asked her kung gusto na nyang tanggalin, and ayaw pa nung una. "But, Mymy, you already paid for the entrance..." So there, tinanggal na lang. I got a bit sad, kasi baka next Halloween she'd be too big for trick or treating na and might not join anymore. Haaaay...oh well.

Happy Halloween!

Sunday, April 28, 2013

Cath Kidston-Style Dining Chair Cover

I love Cath Kidston prints! They sell the most charming and adorable prints -- when I browse through their site, I feel like I can hear Diana Ross' Home in my mind. It's so homey and shabby chic, though medyo mahalia sya for my pocket -- chic nga, magiging shabby naman ang bulsa ko. Anyway, wanting to reupholster our dining chairs, I looked for some Cath Kidston-style prints and found some pillowcases with floral prints. As it turned out, the pillowcases fit the back of the chair perfectly.


I did a few modifications and it was good to go! I then removed the seats and just stapled the new fabric on top of the old one. I didn't sew the edge of the fabric anymore; I just folded it. So, heto ang finished product. Pretty, right? Parang mabango yung chair, di ba?


Thursday, November 18, 2010

Join PRINCESS S At The Nuvali Bazaar

Please drop by our stall, Princess S, at Nuvali's bazaar on Saturday and Sunday, November 20 and 21, Santa Rosa, Laguna! I'll be selling ready-made, handmade, and bespoke accessories, and my [secret] partner will be selling fabulous and stylish clothes! Come join us---we would love to see you all!
Here's a sample of a charms pendant I made.


How to get there:


By private vehicle, from SLEX, exit on Sta Rosa tollbooth (if coming from the north, i.e., Metro Manila) or Greenfield-Eton Exit (if coming from the south, e.g, Batangas). If by public transportation, there are various buses that stop by Sta Rosa City and Balibago. From the bus stop, take jeepneys that ply along Sta Rosa-Tagaytay Road. Coming from the Alabang terminal, you can ride a van on the far side of the terminal.

Sunday, May 16, 2010

Fascinator, The Diva Headband

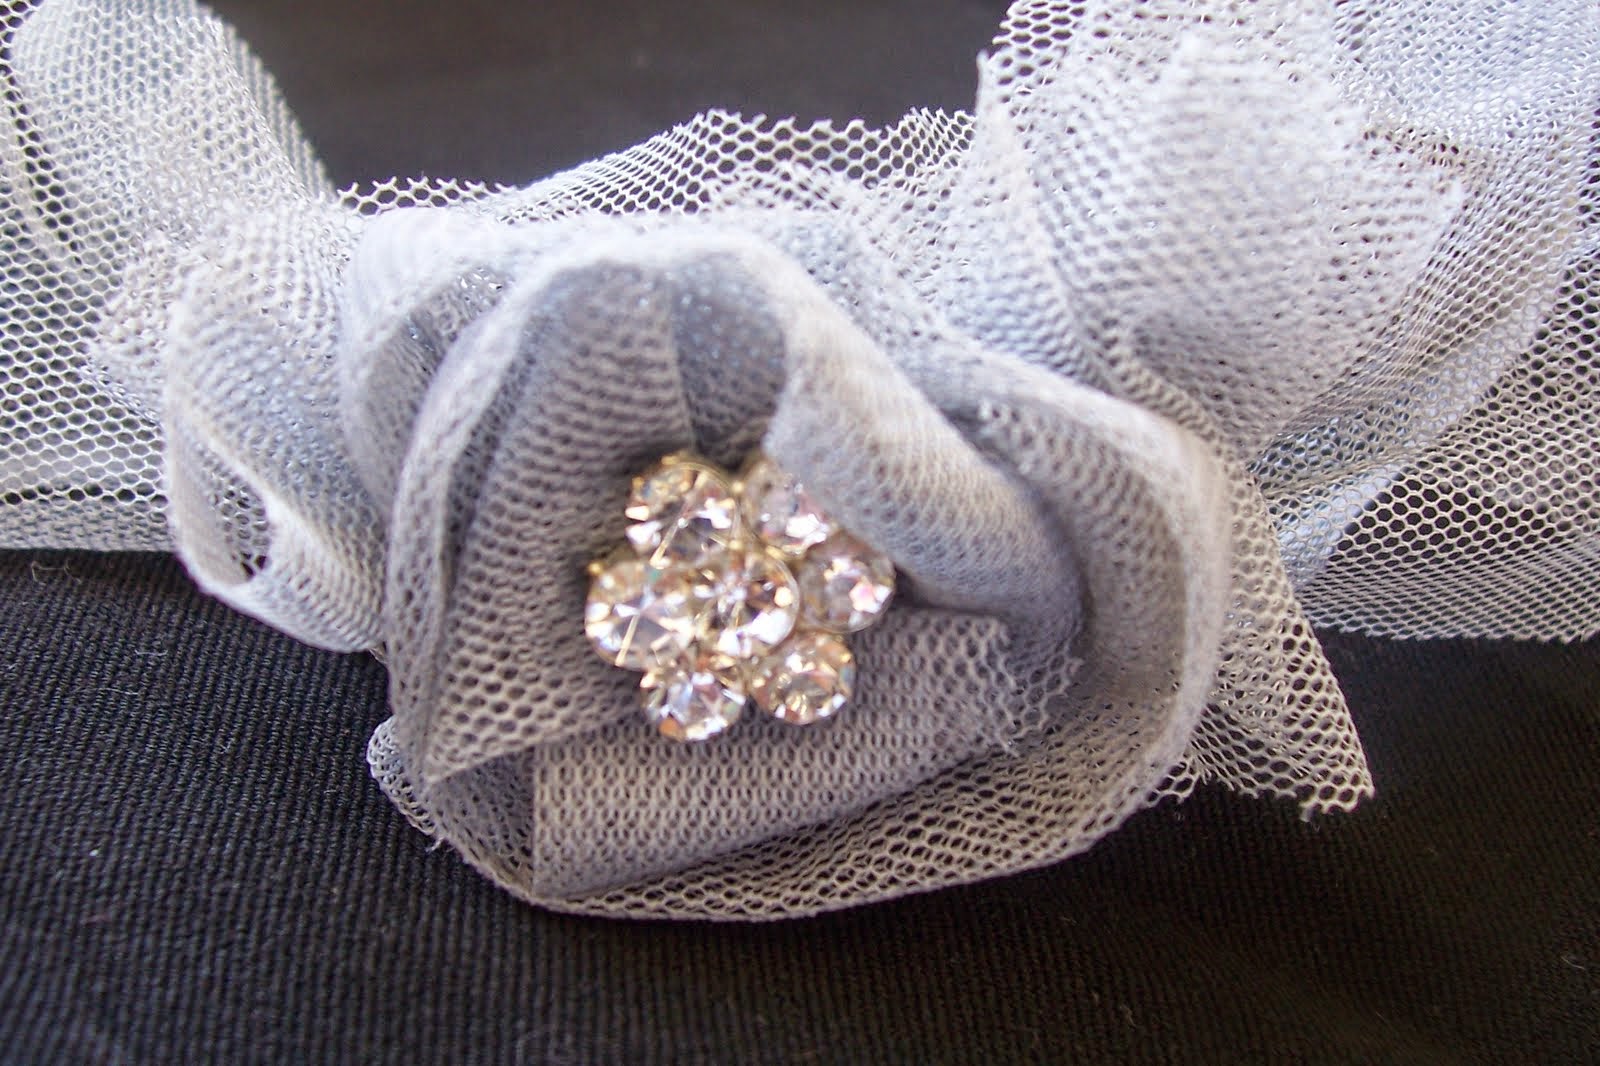
According to Merriam-Webster's, a fascinator is a woman's lightweight head scarf usually of crochet or lace. All I can say is, fascinators are just OA* diva headbands. Here are a few fascinators I made. I don't have a picture of the others, as they were already given as gifts. Both were made from recycled materials, with the exception of the headband itself. The first one was made from the trimmings of a tulle skirt I made for Sharkteeth. The flower rhinestones were from a hairclip that fell apart. The second headband, third and fourth pictures, was made from a leather skirt I bought in an ukay. I was going for a cattleya, but I couldn't access the Internet when I was making it, so I just based it on my memory of the flower. Look where it got me. *wry smile* Anyhoo, I would love to make a business out of this, but mass production doesn't excite me at all. *Hahaha! Feelingera. Parang may bibili.*


*OA, from overacting, meaning excessive.

Sunday, February 01, 2009

Frame Coin Purse

A few years back, I bought an Italian leather bag from a Baguio ukay, and while the lining and piping wore down eventually, the leather stayed soft and supple. I loathe to part with the leather (a pack rat, remember?) so I kept it and figured I might make something out of it when inspiration strikes. Well, as I was cleaning up, or rather, moving one piece of junk to another container, I saw my ruined frame coin purse.

So there, inspiration struck and I set out to make a coin purse. There's a link in NotMartha, but I couldn't find it anymore. Between the two types of leather pieces left, I chose the crocodile skin, or at least, it looks it came from a croc. First, I took off all the pieces of the old coin purse. Then I cut the croc leather so it would fit the frame, and I sew the sides and bottom. I didn't bother adding a lining; I actually like seeing the inner, almost suede-like part of the leather. Then I fitted the leather in the frame and hammered it without mercy. There. Quite simple.

Thursday, October 02, 2008

Ooh-La-La-Lamp!

As promised, fewer me-me-me posts and more arts and crafts. And here's to fulfilling the promise!

The first lamp (lamp A), made of wire and wood with its shade stripped off, was a freebie/prize I got when I inquired about a loan years back when I was still in my former place of employment (would henceforth be referred to as FPE). It's been shoved in the kitchen cabinet, sharing the gloomy darkness with old empty bottles of Asti and Bailey's, waiting for some kind inspiration. I digress. The second one (lamp B), actually intended for candles, I got from Papemelroti. Imagine that? Papemelroti is still alive. It's been producing recycled-themed items since I was in high school, and that, my dear readers, was verrrry long time ago.

Here are the basic steps.*


1. Get the light mechanism and rubber feet off lamp A. Thanks to TheHusband for unscrewing the light mechanism.
2. Drill a hole at the base of lamp B. Hehehe, first time to use the drill, and I sure felt girl-power-y/feminist-y (I'm not even one) wielding it. Drill today, chainsaw tomorrow! Girlz rule!
3. Install the light mechanism and rubber feet on lamp B. I covered all exposed metal, you know, just in case someone (READ: Sharkteeth) decides to stick her hand in, and I don't think I'd be surprised if she does---I once stuck a corned beef can key into an electrical outlet. Got shocked in more ways that one. Must be the reason for MY hair.
4. Trace and cut the shape of lamp B on a translucent fabric, one for each side. I used an old curtain.
5. Paste the fabric on each side. Let dry. By the way, I used SewNoMore. It's terrible to use on clothing, but it worked great on this project. I'm thinking of covering up the edges of the fabric with some sort of trimming lace/cord. Maybe this weekend.
6. Turn off all the lights for maximum drama and light this lamp up!

Of course, by this time, TheHusband and Sharkteeth already know the drill and know exactly when to "ooohh!," "aaahh!," "wow!, " and "ganda, Mymy!" without being prodded.


*You'll need a drill, a screwdriver, electrical tape, very sticky glue, and lots of poise and grace while wielding that frickin' heavy drill.